What is E-Coating?
So, you want to learn about E-Coating? You’ve come to the right place!
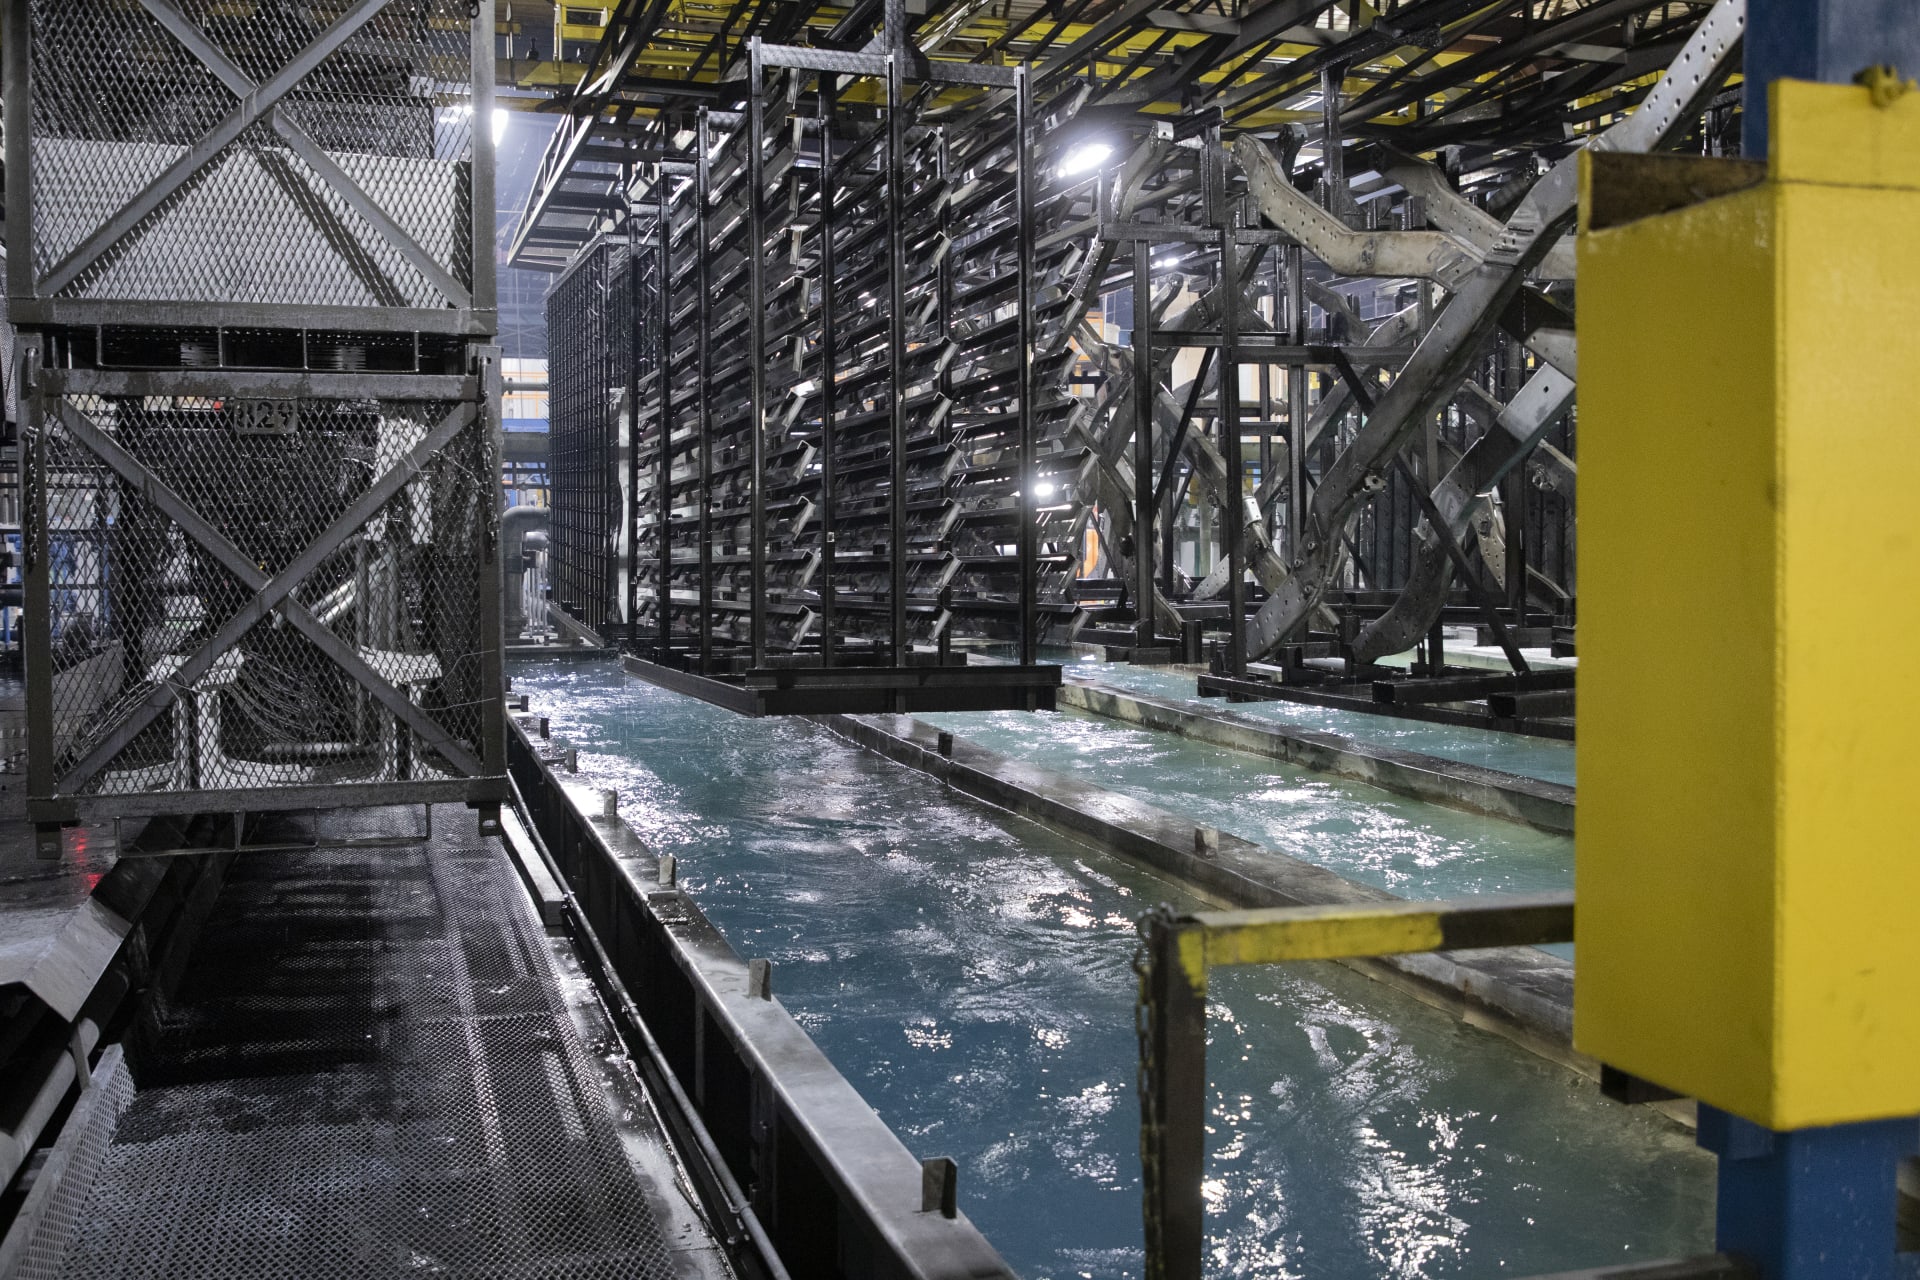
Sometimes referred to as electrocoating, electrophoretic painting or electropainting, e-coating is a high-tech process in which metal components are covered in a protective finish by submersing them in a chemical bath and applying an electrical current.
Once a part is submerged into a specially designed e-coat paint tank, the paint particles are positively charged with electricity. The positively charged paint particles are then forced to the part, which is grounded. Once the coated part emerges from the e-coating tank, the process results in uniform paint thickness on the part. This process means it can endure the harshest conditions, ensuring a long-lasting finish that stands the test of time.
Unique E-Coating Qualities
Cost Effective
Improved Productivity
Efficient Material Utilization
Superior Film Appearance
Throw Power
Environmentally Friendly

E-Coating Chemistry Explained
E-Coat Bath Components
RESIN
PIGMENT PASTE
D.I. WATER
SOLUBILIZER (ACID)
CO_COLVENTS
De-ionized Water (D.I. Water)
Pigment Pastes
Solubilizes
Co-Solvents
Not seeing the coating information you need? Just ask.
Fill out the form, and we’ll gladly assist you with any questions you have about Lippert’s coating capabilities.
Steps in the E-Coating Process

1. Pretreatment
The e-coating process begins with cleaning and pretreatment of the parts to prepare them for painting. The cleaning process removes soils that would otherwise cause surface blemishes. Pretreatment promotes good paint adhesion and contributes to coating performance. Cleaning and pretreatment also protect the e-coat tank from contamination. This process typically includes cleaning, rinsing, activating (if a zinc phosphate coating will be used), phosphating, rinsing, passivating and a final rinse with D.I. / RO water before entering the e-coat tank.
2. Cleaning
The first step in the pretreatment process is the removal of dirt, oils and other soils that will interfere with development of a good quality phosphate coating, good paint adhesion or cause surface defects. The cleaner used will depend on the soil to be removed and the substrate. While alkaline cleaners are the most common, the pH will depend on the condition of the part.
Proper cleaning of parts requires a combination of spray and immersion stages. The spray stage provides mechanical scrubbing of the parts. Immersion is able to reach areas of the part that may be inaccessible to the spray.
3. First Rinsing
The immersion rinse stage following the cleaner is ambient city water. This rinse is used to remove any residual alkaline cleaner or soils before phosphating.
4. Activating (For Zinc Phosphate)
Immersion conditioning rinses provide sites on the part surface that promote the formation of Zinc crystals in the Zinc Phosphate Pretreatment bath.
This stage is used to increase the number of phosphate crystals, decrease the size of the crystals and generally improve the phosphate coating.
5. Phosphating
Applying a zinc coating is the most critical part of the pretreatment process. This makes the part ideal for paint bonding and improves corrosion resistance. The crystal size of the phosphate coating impacts paint bonding capacity and corrosion resistance. A large crystal structure is more porous, has poorer corrosion resistance and requires more coating to achieve a complete film. A fine-grained, tight, uniform coating will provide the best performance. The composition of the bath, the temperature, exposure time and the previous cleaning process will affect the phosphate composition and crystalline phase.
6. Second Rinsing
The rinse stage following the phosphate is city water.
7. Passivating Rinse / Seal
The non-chrome rinse neutralizes any residual water-soluble salts to prevent humidity blistering, fills in any voids that are present in the Zinc Phosphate layer and promotes corrosion protection.
8. D.I. / R.O Water Rinse
This rinse uses low conductivity water to make sure contaminates are not carried into the e-coat tank.
9. Part Wetting / Drying
The e-coat process will work with wet parts or dry parts. The choice to dry or not to dry is a system consideration. If a dry off oven is used, it should be about 5 minutes long, operating at 275 to 350°F. A correctly designed dry-off oven will utilize air during the drying process. The duct work should discharge directly onto the parts with sufficient velocity to break up the moisture for easier drying.
If a dry-off oven is used, the parts must be cooled to room temperature before they enter the e-coat bath. Wet parts shorten processing times, reduce capital equipment cost and reduce operation costs.
Proper cleaning and pretreatment will promote robust performance.
A Brief History of E-Coating

The e-coating process was used in the early 1900s to apply latex to cloth to make rubber gloves.
E-coating vs. Other Types of Coating
Frequently Asked Questions
Form not found
